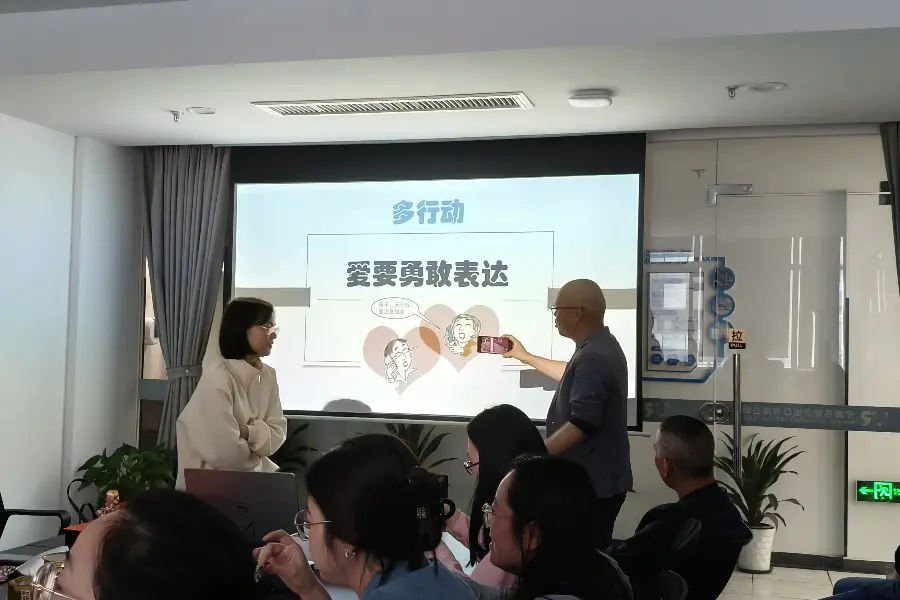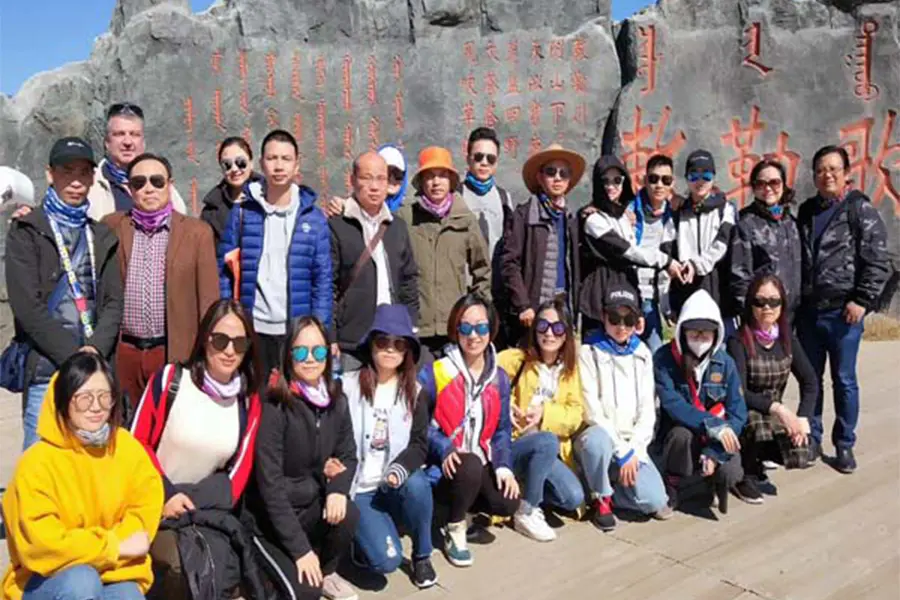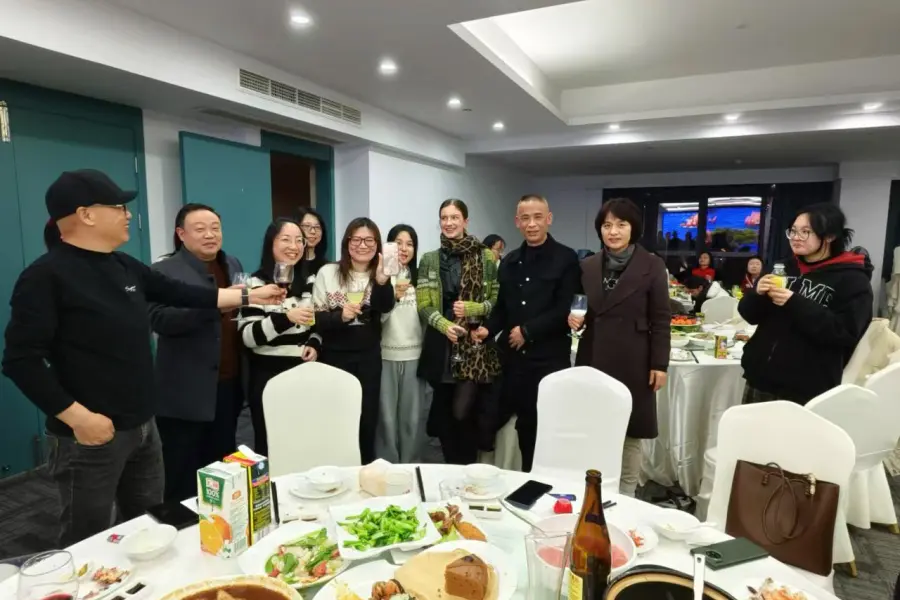
2024 Annual Dinner
Brands
- Craftoys
- Colourchoice
- Artchoice
Decorate Storage Shelve Baskets Your Child Can Make
by:Unionrise
2020-08-10
If you're a parent or scout leader looking for a craft idea from your crafting supply storage shelves, baskets are a good choice for your boys to make. Many kids have a spot in their room with shelves for baskets, baseball card collections and lots of other treasures. Spend an afternoon with them putting together a classic craft stick basket and you'll have a handsome container which will hold small cars, baseballs or any number of other collectibles.
Popsicle stick art, or craft stick art, is a classic design method and has been used for decades. It combines simple, clean lines to form geometric shapes that are pieces of functional art. Depending on how you place the sticks, you can create an entire set of shelving with baskets from the plain to the fanciful. But it all starts with the first basic basket.
Things You Will Need:
Let's Get Started:
1. Lay some old newspapers down on your work table. You'll be working with craft glue and it may mark your table if you don't protect it.
2. Place 12 craft sticks together, side by side. The sticks will look like a small raft. Each stick should be running horizontal to you across the table.
3. Cover one flat surface of each of two sticks with glue. Lay these two sticks vertically across all 12 horizontal sticks. These two sticks will hold the first 12 together, completing the raft model.
4. Wait for the flat model to dry, then turn it over so that the two sticks are on the bottom. The top of the flat raft surface will be the inside square bottom of your basket.
5. Lay one stick diagonally across the upper right corner of the bottom square. Lay a stick diagonally across the other three corners of the square. The tips of the four diagonal sticks should almost touch each other. Pick up one stick and put glue on it where it will touch the sticks underneath. Set the stick down without squashing it onto the stick underneath. Glue the other three sticks to the lower layer in the same way.
6. Make a second row of sticks on top of the first by putting them vertically and horizontally instead of diagonally. You'll have one on top, one on the bottom and one on each side. Place the sticks slightly farther out from the center than the first row.
7. Add rows of sticks, alternating between straight and diagonal placement, until your basket is as tall as you want it to be. Be careful to place each row of sticks slightly farther apart than the previous one.
8. Allow your basket to dry overnight before you use it or give it as a gift.
9. For a different looking basket, look through craft stores for colored craft sticks. Alternate the colors of sticks to make a striped basket or mix up the colors for a fun and zany design.
10. Experiment with basket shapes by placing the sticks farther out for a certain number or rows, then place them closer in for the same number of rows. This will create a basket with a big belly that looks very much like a vase, and could be used for an artificial flower arrangement.
It's the rare home or apartment that doesn't have book cases or a set of storage shelves. Baskets make the perfect accessory to dress up these shelves. With their clean lines and unusual look, craft stick baskets can be the unique touch that finishes your room with a certain style and flair. They'll hold little items that might otherwise get lost, and they'll also hold the memory of an afternoon doing wood working with your child. Whether he's five years old or into his teenage years, this project is simple yet elegant enough to make any novice wood worker proud of the results.
Custom message
Related Products